Uploader for Instagram: Options, Formats and Scheduling
12 min readuploader for instagraminstagram schedulerinstagram post formatsschedule instagram posts
You've got the photo edited, the Reel exported, and the caption sitting in a notes app. Then the scheduled slot passes and nothing appears on your feed. Or it does appear, but cropped badly, in the wrong format, or an hour late because the time zone was off. That's the job of an Uploader for Instagram, not just picking a date on a calendar. It's handling the handoff from your file to Meta's publishing system, and confirming the post went live.
Instagram Uploader Options Compared
Start with two questions. What type of account do you have, and how many accounts are you posting to each week? Those answers narrow the list faster than any feature comparison.
| Method | Scheduled posting | Formats supported | Best for |
|---|---|---|---|
| Instagram app, personal account | No native scheduling | Feed, Reels, Stories, carousels | One account, posting from a phone |
| Instagram app, professional account | Limited; check your account type | Feed, Reels, Stories, carousels | Creators and small businesses on mobile |
| Instagram on a web browser | Not for scheduled posts | Feed images and video | Quick desktop posts without a calendar |
| Meta Business Suite on desktop | Yes, for linked professional accounts | Feed, Reels, Stories, carousels | Brands managing a few accounts |
| Scheduling platform via official APIs | Yes, with a multi-channel calendar | Feed, Reels, carousels, video | Creators, agencies and teams across several networks |
Account Type Decides the Shortlist
Personal accounts generally can't schedule natively. Switch to a professional account to access more scheduling options in the app and through Meta's tools. If you're staying personal, you're posting in real time or using drafts as a workaround.
There are also two different publishing routes behind these methods. The app and browser upload your file directly. Most third-party tools instead send the post through Meta's Content Publishing API, where Meta retrieves and processes the media before publishing it. That distinction matters when something fails, because the failure points aren't the same.
Practical rule: One account and a phone, start in the app. Several accounts or a shared calendar, move to desktop or a platform route.
If you're weighing platforms, a social media scheduler built around a central calendar saves you from logging into each network separately. For a broader comparison of features and pricing before you commit, it's worth browsing independent reviews of social media software for small businesses from KeenVerdict alongside your own test posts.
Supported Formats and File Specs by Post Type
Get the ratio wrong and Instagram crops for you, usually badly. Build each asset at its final size before you upload anything.
| Post type | Aspect ratio | Key limit |
|---|---|---|
| Portrait feed image | 4:5 | Takes the most vertical space in the feed |
| Square feed image | 1:1 | Safe default across grid and feed |
| Landscape feed image | 1.91:1 | Wide crops may cut edge content |
| Carousel | 4:5 or 1:1 | Up to 20 mixed items; first item sets the crop |
| Reel | 9:16 | Video length varies by account; confirm in the app |
| Story | 9:16 | Vertical video or image only |
Why These Ratios Work
A 4:5 portrait image at 1080 x 1350 px takes the most vertical space in the feed, so it's my default for single photos. Square at 1:1 is the safe fallback. Reels and Stories are full-screen vertical formats, so they use 9:16 at 1080 x 1920 px. Anything shorter leaves bars or triggers an awkward zoom.
Carousels need the most care. Meta's Content Publishing documentation notes that carousel posts can contain up to 20 mixed images and videos, while the first carousel image determines cropping for the set. Normalize every slide to one ratio before upload. If slide one is 4:5 and slide three is square, slide three gets cropped to 4:5 whether you wanted that or not. The same documentation also flags that media must sit on a publicly accessible server when Instagram retrieves it, and that accounts face a rolling publishing limit.
Use JPEG for images and MP4 or MOV for video. Check the maximum video length inside the app for your account, because limits change and an uploader won't always warn you in time.
Say you're working from one shoot. Export one 4:5 photo for the feed, cut a 9:16 Reel from the same footage, and build a three-slide carousel at 4:5. Three posts, one session, no re-cropping later. Then preview each asset at actual size in the composer before you schedule it, and plan Instagram posts with iHatePosting so spacing and limits stay visible in one place.
How to Upload and Schedule a Post from Desktop
Desktop uploading is where scheduling gets reliable, because you can see the preview, the queue, and the account you're posting to on one screen. Work through these steps in order.
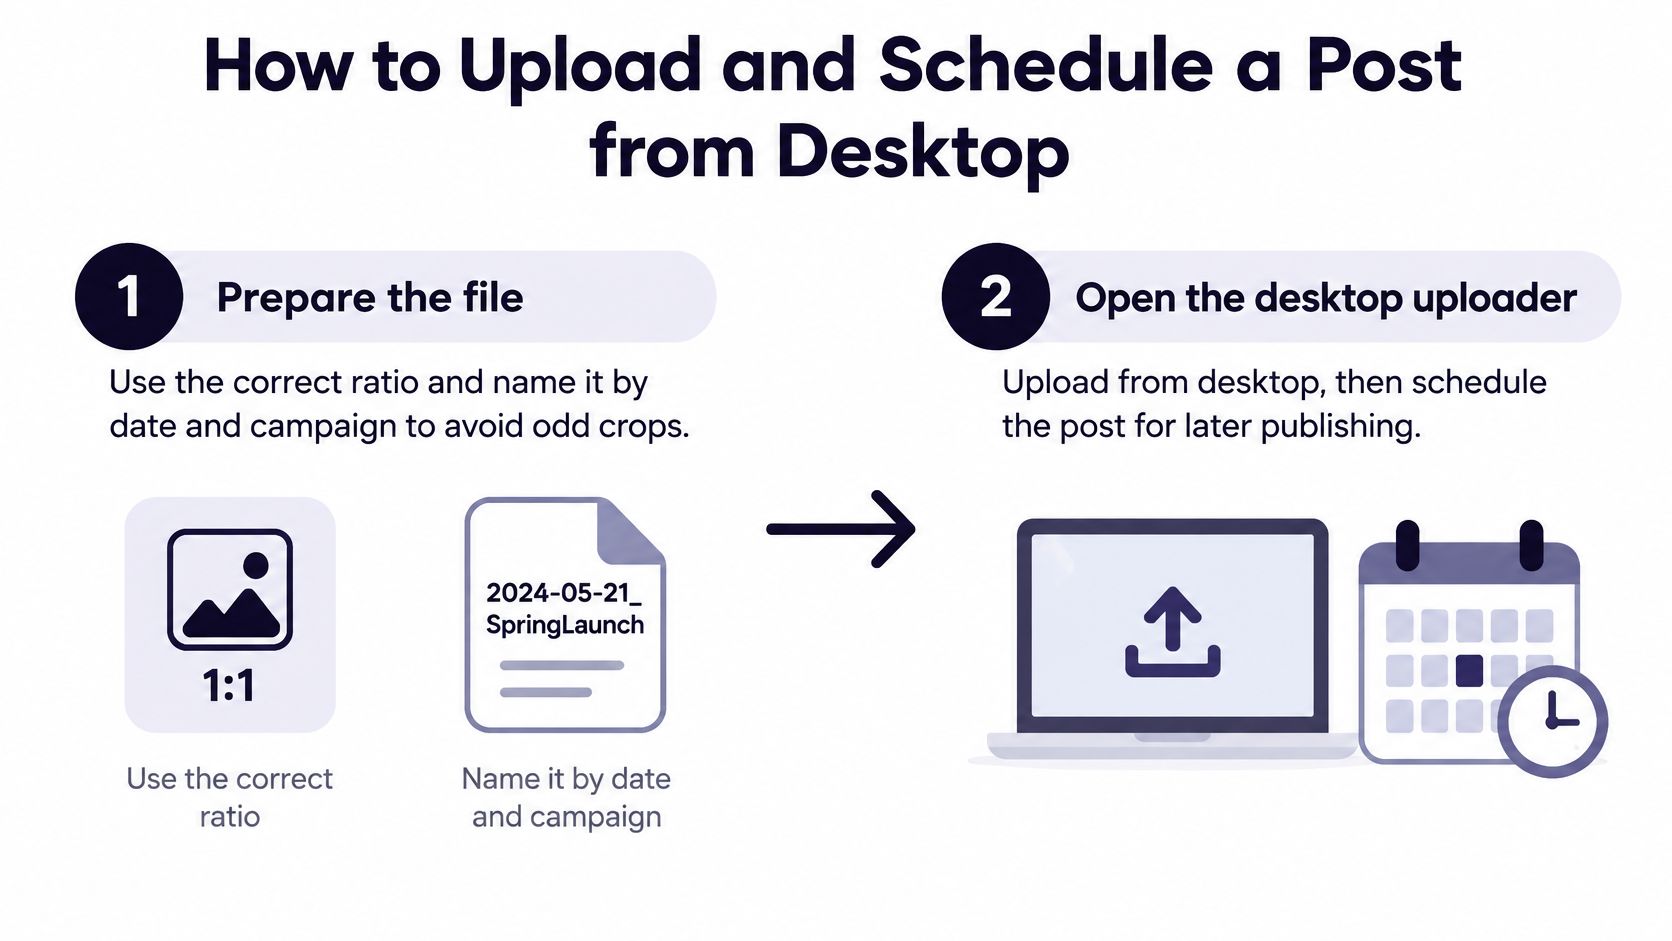
Prepare the file first. Export at the correct ratio and name it by date and campaign, something like 2026-06-12-summer-offer.jpg. A mismatched ratio is the most common cause of odd crops, and a clear filename stops you uploading the wrong version.
Open the uploader and select the account. Check the connected account is the right one, and that it's a professional account if you need scheduling. Posting to the wrong brand is an easy mistake when several accounts sit in one workspace.
Choose the post type before uploading. Pick feed, carousel, Reel, or Story first, because the type decides how the media is processed. The classic slip is uploading a Reel as a feed post and wondering why it lost its full-screen treatment.
Upload and check the preview. Look at every carousel slide, not just the first. Adjust crops now, because after scheduling you'll probably never look again until it's live.
Write the caption. Keep it under 2,200 characters and use a small set of relevant hashtags rather than chasing the maximum of 30. Read the preview to confirm the first line isn't cut off awkwardly and the hook lands before the fold.
Set the date and time in your own time zone. Confirm the queue shows the slot you intended. A time zone set to the wrong region is the quietest way to miss a launch window.
Confirm, then verify. The post should appear in the calendar as scheduled. After the publish time passes, check its status rather than assuming it worked.
What a Correct Schedule Looks Like
You should see three things. A dated entry in the queue, a preview that matches your file exactly, and a published status after the slot passes. If any one of those is missing, treat the post as unfinished and check it before moving on.
Why Scheduled Uploads Fail and How to Prevent It
A scheduled post isn't a published post. That assumption causes most of the frustration with any Uploader for Instagram, because the handoff behind the calendar has more steps than the interface shows.
The Publishing Handoff
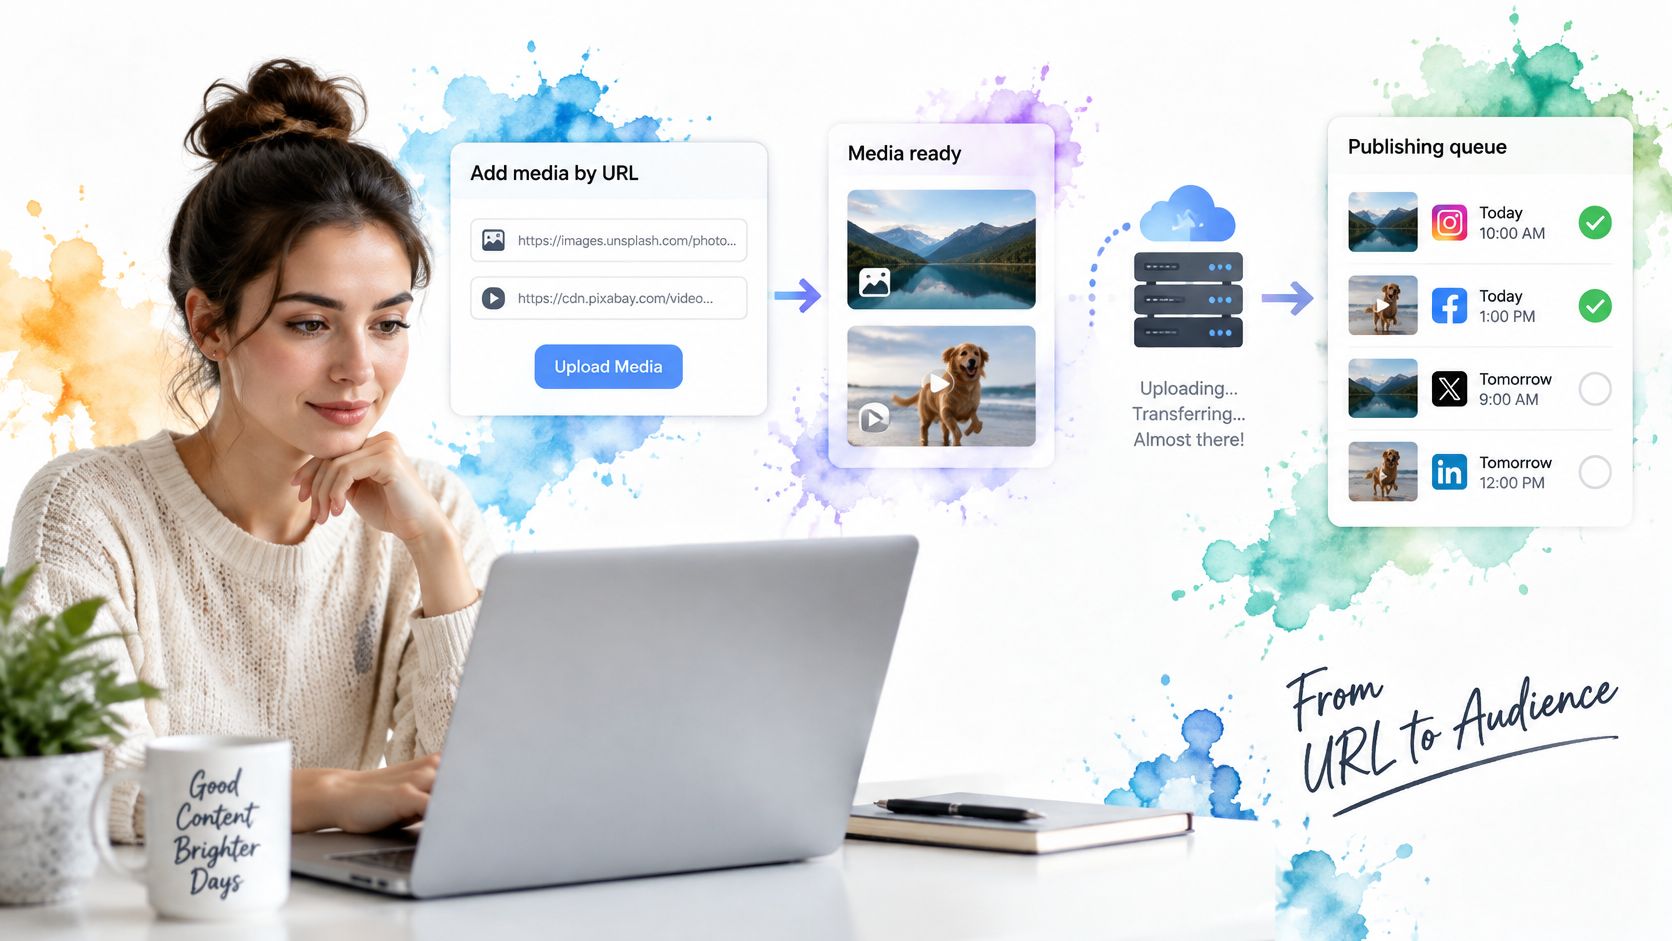
Meta's media_publish API reference describes a two-stage, container-based workflow. The uploader first creates an IG media container by supplying a publicly reachable image or video URL, and Meta retrieves the media from that server. Only after processing finishes does the tool call the publish endpoint with the container's creation_id. Creation and publication are separate operations, so a scheduler shouldn't mark a post published the moment the container exists. Reels are distinct too, using media_type=REELS at container creation.
That design has a direct consequence. Media sitting on a private drive, behind a login, or on an expiring link won't publish, because Meta can't fetch it. Host each asset on a stable public address and test the URL in a private browser window.
| Symptom | Likely cause | Fix |
|---|---|---|
| Post failed, media never appears | Media URL private, protected or expired | Host media on a stable public URL and test it in a private window |
| Carousel slides crop unexpectedly | First slide sets the crop for the whole set | Normalize every slide to one ratio before upload |
| Post shows as scheduled but is not live | Creation was treated as publication | Wait for a publish confirmation before marking it done |
| Posts stop after several in one day | Rolling publishing limit reached | Spread posts across the 24-hour window |
| Reel appears as a feed post | Media type set incorrectly at upload | Choose Reel before uploading the video |
A tool that supports Instagram doesn't automatically publish every format reliably. Judge format coverage and execution separately.
Keep a log of publish confirmations with retries, and check every queued item for a published status after its slot. iHatePosting's guide to Instagram scheduled posts walks through where those statuses live, so verification takes seconds instead of guesswork.
Publishing Across Networks from One Composer
Opening five apps to publish one idea five times is where consistency dies. A single composer fixes that, but only if you adapt the content instead of blasting identical posts everywhere.
Say a creator films one product demo. From one session they produce a 9:16 Reel for Instagram and TikTok, a 1:1 image for the feed and LinkedIn, and a short text hook for X. Same source material, three shapes. The caption gets adjusted per platform, because what reads well on Instagram sounds bloated on X and too casual on LinkedIn. That's the difference between cross-posting and copy-pasting, and it helps to adapt cross-posted content for each platform as a habit rather than an afterthought.
The Calendar Behind the Composer
A central calendar shows every channel's queue on one screen, so gaps and collisions are obvious. Add recurring evergreen posts for content that stays relevant, RSS-based publishing to turn new blog posts into social drafts automatically, and a review step so nothing goes live unseen.
Drafting help fits here too. AI tools inside the workflow can generate platform-specific captions, hooks, hashtags, images, and short videos, which cuts the blank-page time that slows manual production down. You still review and approve each draft before it publishes. The AI writes options, you keep editorial control. Teams comparing options can start at iHatePosting's homepage to see how that composer and calendar fit together.
The rhythm stays simple. Connect your accounts, create or upload content with per-platform captions, then schedule everywhere.
One caution. Publishing runs through each network's official API, so a platform can reject a post or change access at any time. Check the publish status log after every batch, even when the calendar looks perfect.
Uploader Workflows for Creators, Shops and Agencies
The same uploader serves three very different weeks. What changes is the workflow around it, and where it breaks.
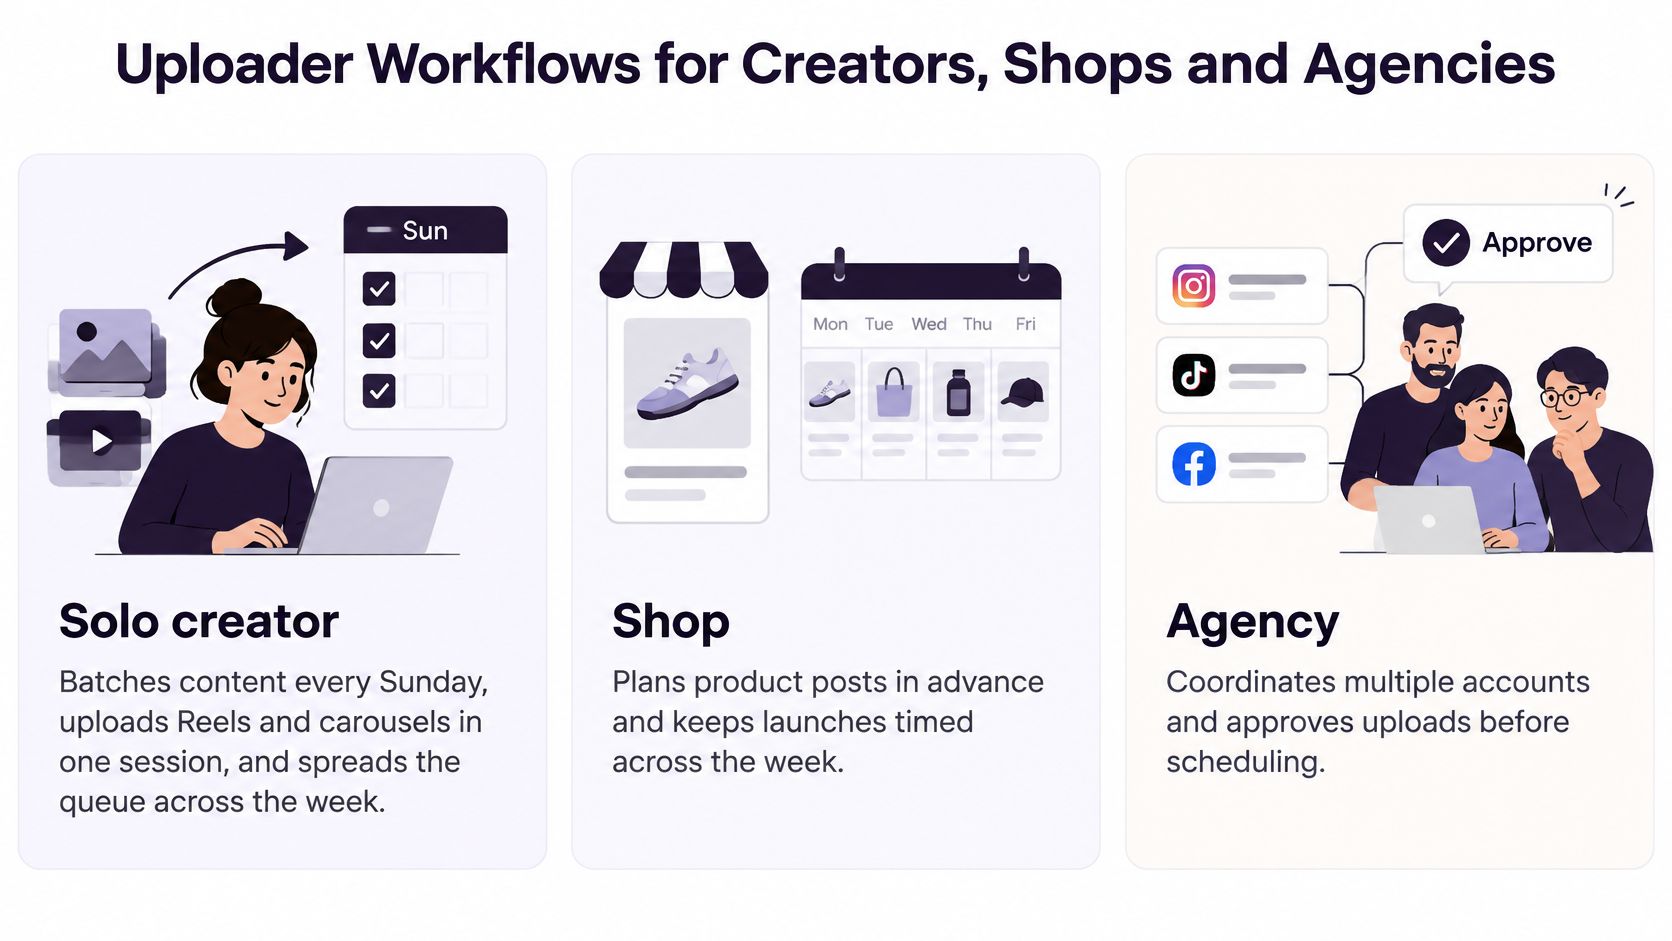
A solo creator posting four times a week batches everything on Sunday. They upload Reels and carousels in one session, spread the queue across the week, and use the saved evenings for filming. If short video is the bottleneck, tools that help you create videos with AI from ClipNova can speed up first drafts. Their likeliest failure is a Reel uploaded as a feed post because they picked the post type too late.
A small shop running an offer campaign plans product shots, customer reviews, and seasonal posts on a visual calendar, with approval before anything goes live. Their risk is quieter, an outdated caption paired with a current image after prices change mid-campaign.
An agency managing five client accounts keeps separate groups, calendars, and approvals so no client's post reaches another client's feed. That's exactly what tools for managing multiple clients' social accounts are built around. Their risk is a shared caption or hashtag group copied across clients who shouldn't sound identical. The same separation helps with user-generated content, where approved customer assets sit organized with campaign captions, posting dates, and channel-specific variations.
AI drafting is now part of these workflows at scale. The 2024 Capterra survey reported by BusinessWire of more than 1,600 social-media marketers worldwide found businesses planned to use generative AI for an average of 48% of their social-media content by 2026, compared with 39% in 2024, and 90% of businesses using generative AI for social content experienced moderate to significant time savings. Treat those as reported outcomes, not a guarantee for your account.
Pick Your Uploader and Schedule the First Batch
Don't migrate your whole workflow on day one. Test the route with a small batch and verify it end to end.
- Count first. Note your connected accounts and weekly post volume, then pick the route from the methods table that matches.
- Test two formats. Schedule one feed post and one Reel built to the specs table, and confirm each preview shows the right ratio.
- Schedule about a week. Stagger posts across the day instead of bunching them into one slot, so one failure doesn't take the whole batch down.
- Verify after 24 hours. Every post should show as published, not just queued.
As the routine settles, AI agents can take on drafting, adapting, and scheduling posts across connected networks as part of a longer task, with your review and approval staying in the central calendar. iHatePosting works this way, connecting accounts, letting you create or upload content with per-platform captions, and scheduling across networks. It also includes publish alerts, automatic retries, bulk CSV import of 500 rows, an API, an MCP server, webhooks, and integrations with Zapier, Make, and n8n. Scheduling doesn't guarantee views, reach, or followers. It helps you post consistently and keep the creative work organized.
Connect one account, schedule one Reel and one feed post, and verify the publish status before you add anything else.
Stop re-uploading the same file into five different apps and hoping each one landed. With iHatePosting you can upload photos, carousels, and Reels once, tailor the caption per network, and watch every publish status from one calendar. Connect your Instagram account today, schedule your first batch, and check it go live.