How to Schedule Instagram Stories Without Losing Stickers
12 min readInstagram Stories schedulingschedule Instagram storiesInstagram marketing toolssocial media workflow
You're halfway through a 9pm launch, the product is ready, and the Story needs to go live before the moment passes. The creative is finished, but you're still uploading frames, checking text placement, and trying to add a link sticker from your phone. That's exactly when scheduling sounds useful, and exactly when a rushed automated workflow can create a weaker Story than publishing manually.
Learning how to schedule Instagram Stories isn't just about choosing a date and time. You need to know which assets can publish intact, which interactive features may need a final manual step, and how to test the workflow before trusting it with a campaign.
Table of Contents
- Why Scheduling Instagram Stories Feels Harder Than It Should
- What You Need Before You Schedule Your First Story
- Preparing Story Assets That Survive Scheduling
- Scheduling Your Story in Meta Business Suite or a Planner
- Handling Stickers, Links, and Final Publish Checks
- Timing, Cadence, and Making Scheduled Stories Feel Human
Why Scheduling Instagram Stories Feels Harder Than It Should
Instagram Stories behave differently from ordinary feed content. A feed post is usually a finished image, carousel, or video with a caption. A Story may combine several frames with polls, questions, links, mentions, music, and other native elements. Treating both formats as identical is why many scheduling tutorials feel complete until the first scheduled Story loses something important.
The distinction matters because Instagram's own scheduling help focuses on posts, carousels, and Reels, while Story scheduling follows a separate workflow in Meta Business Suite. Independent guidance also describes desktop and mobile options, with scheduled Stories appearing under Content > Stories > Scheduled in supported workflows, as explained in this comparison of Instagram Reels and Stories.
The decision starts with the Story format
Media-first Stories are usually the safest candidates for auto-publishing. These include prepared photos, graphics, and video frames where the creative itself carries the message. You can build the sequence in advance, check the order, and schedule the package.
Feature-dependent Stories need more caution. Polls, question boxes, link stickers, and other interactive elements may not survive automated publishing in the same way they appear when added natively inside Instagram. Automated publishing can strip interactive stickers, so a Story that depends on audience participation should usually use a notification-based workflow.
Practical rule: Schedule the media when the Story can stand on its own. Use a publish notification when the interaction is the point.
That gives you a simple operational decision tree. If the Story only needs prepared media, auto-publish can save time. If it needs an interactive sticker, a last-minute edit, or a native Instagram treatment that the scheduler may not preserve, schedule a reminder instead and finish the Story inside the app.
The best workflow isn't the one with the fewest clicks. It's the one that preserves the part of the Story your audience is meant to use.
What You Need Before You Schedule Your First Story
Most failed schedules aren't creative failures. They're connection and permission failures. Before you prepare a week of media, confirm that Instagram, Facebook, and your scheduling tool can access the account correctly.
Run this two-minute readiness check
Confirm the account type. Instagram Story scheduling requires a Business or Creator account. A personal account may look connected in one interface while remaining unavailable for the publishing workflow.
Check the Facebook connection. In Meta Business Suite, connect the relevant Instagram account to the correct Facebook Page. If the wrong Page is attached, the Story may be created successfully but never reach the intended profile.
Verify permissions. Make sure the person scheduling has the necessary Page and Instagram access. Partial access, expired permissions, and failed account linking are common reasons a scheduled Story doesn't appear as expected.
Choose the publishing mode. Meta Business Suite supports native Story scheduling, while third-party planners may offer both automatic publishing and notification-based posting. Pick the mode based on the Story elements, not just on convenience.
Check the destination before uploading. If you manage multiple brands, confirm the selected Instagram profile and time zone. A correct asset scheduled to the wrong account is still a failed publication.
A useful way to avoid confusion is to keep a short record of the connected Page, Instagram profile, account owner, and permitted users. Teams that already use drafts can also review their Instagram draft post workflow so planned content doesn't get mixed up with material waiting for native Story edits.
If the account connection looks incomplete, fix it before touching the creative. Reconnecting permissions after a full content batch has been prepared wastes more time than the setup check.
Preparing Story Assets That Survive Scheduling
A scheduler can publish the file you give it, but it can't rescue a crowded frame, a clipped headline, or a logo hidden beneath Instagram's interface. Asset preparation is quality control, not a cosmetic final step.
Build for the phone first
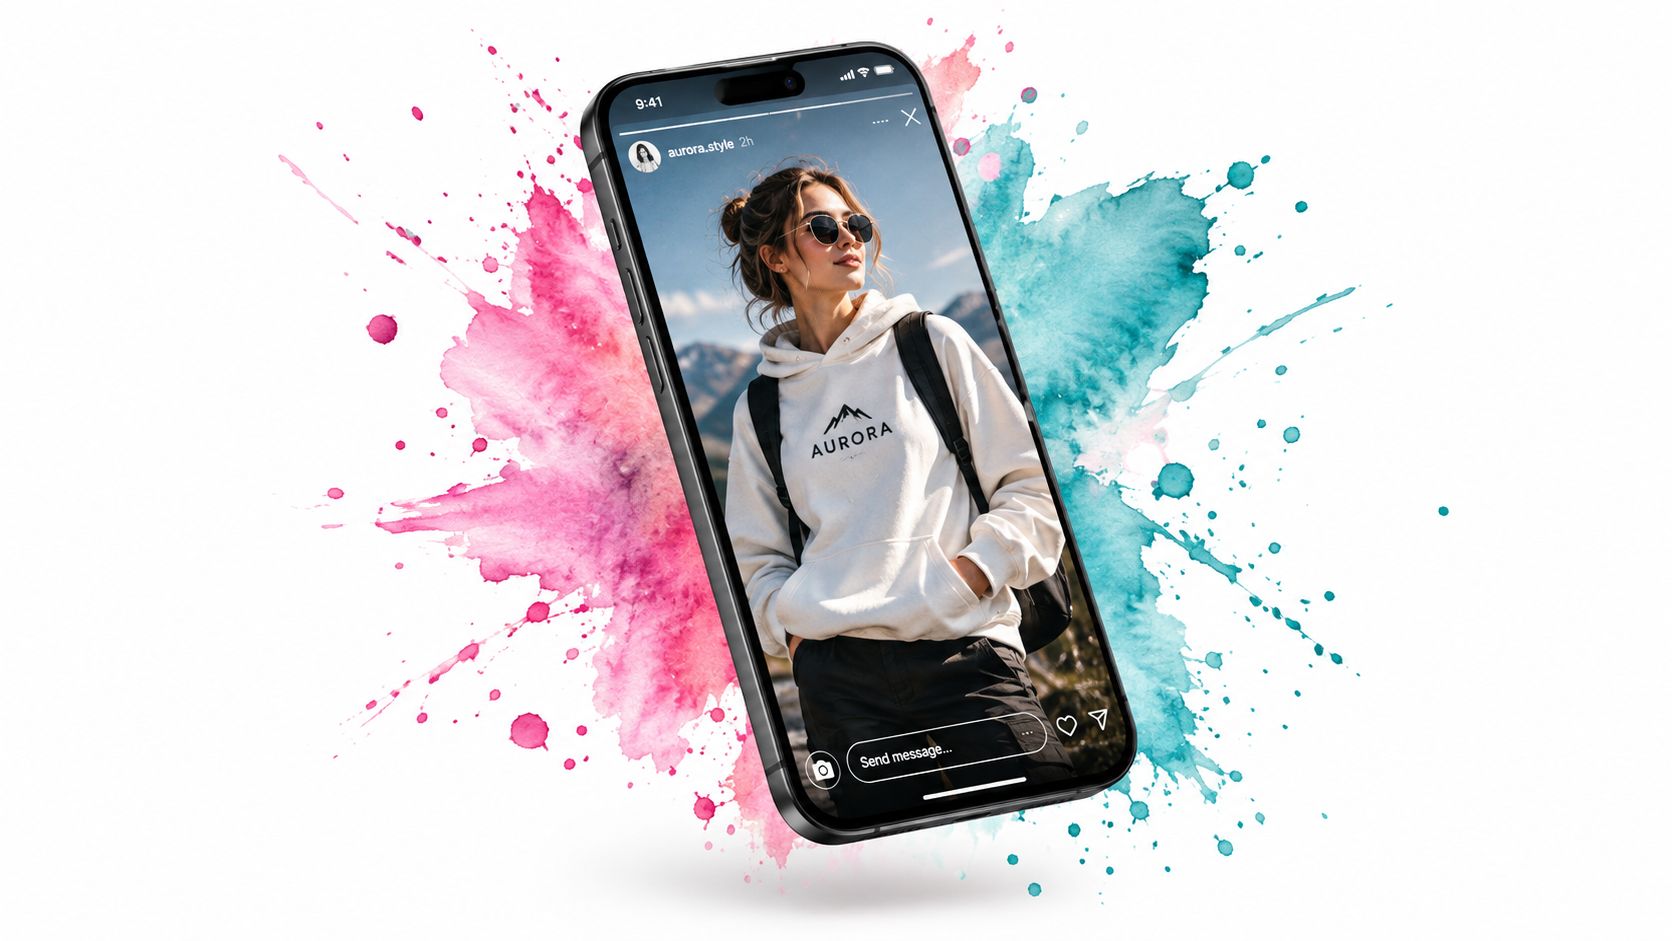
Use a vertical Story composition and keep essential copy away from the top and bottom interface zones. Instagram overlays profile information, navigation, and reply controls, so text that looks safe in a desktop editor can become difficult to read once the Story is live.
Keep the main idea obvious in each frame. A product Story might use one frame to establish the problem, a second to show the product, and a final frame to give the viewer a next step. The sequence should still make sense if someone watches it quickly and without sound.
For multiple frames, name files in publishing order rather than relying on upload order. A simple sequence such as 01-hook, 02-proof, and 03-action reduces mistakes when several people handle the same campaign. It also makes a review easier because the team can discuss a specific frame instead of saying “the second one.”
Treat export settings as part of the workflow
Prepare image and video files before opening the scheduler. Check that the dimensions, compression, audio, and text rendering look correct on a real phone. If you're moving files from a camera or editing application, these RAW photo export tips provide useful context for preserving quality during export.
Do a mobile preview before scheduling:
- Read the copy: Check that headlines, captions, and calls to action aren't truncated.
- Inspect the edges: Look for logos, faces, or product details placed beneath interface controls.
- Watch the video: Confirm the opening moment makes sense without relying on a desktop preview.
- Review the sequence: Make sure each frame leads naturally to the next one.
- Test the final frame: Confirm that the intended action is clear even if no sticker is added.
A content calendar can help you plan the narrative before you export the assets. Use your Instagram content calendar to record the campaign purpose, frame order, owner, approval status, and whether the final Story will use auto-publish or a notification.
The final question is simple: if the scheduler publishes only the prepared media, does the Story still work? If the answer is no, move that Story into the notification workflow before you queue it.
Scheduling Your Story in Meta Business Suite or a Planner
Meta Business Suite is the most direct native route. On desktop, connect the eligible Business or Creator account, open the Instagram publishing area, and choose Create story. Upload the media sequence, arrange the frames, select Schedule, choose the date and time, and confirm the timestamp.
After saving, check the scheduled queue under Content > Stories > Scheduled. Don't assume that a confirmation message means the work is finished. Verify the Story appears in the queue with the correct profile, media, and time zone.
The native desktop path
Use this sequence for a straightforward media Story:
- Open Meta Business Suite on desktop.
- Select the connected Instagram account.
- Choose Create story.
- Upload the images or videos in the intended order.
- Review the preview and destination.
- Choose Schedule rather than publishing immediately.
- Confirm the timestamp.
- Return to Content > Stories > Scheduled and verify the entry.
The native workflow is useful when Instagram is the only destination and the team wants fewer moving parts. It becomes less convenient when the same campaign includes other networks, different caption treatments, approval steps, or several clients.
A multi-platform planner can put the Story beside other scheduled work in one visual calendar. iHatePosting supports Instagram Stories alongside other social channels, with media previews, per-platform tailoring, campaign organization, automatic publishing, retries, and publish alerts. That kind of workspace is useful when a Story supports a broader launch and the team needs to see the surrounding LinkedIn, TikTok, Pinterest, or Facebook activity without switching between separate calendars.
For teams coordinating paid distribution as well as organic content, a separate workflow such as scheduling Facebook and TikTok ads can keep advertising operations distinct from the Story publishing queue.
Choose the mode before you schedule
| Mode | Best For | Key Limitation |
|---|---|---|
| Auto-publish | Prepared photos, graphics, and video sequences that work without native interaction | Interactive stickers and some final Instagram edits may not be preserved |
| Notification-based scheduling | Polls, questions, link stickers, mentions, and Stories needing a live edit | Someone must open Instagram and finish the publication manually |
| Mixed workflow | Campaigns that combine safe media frames with one interactive frame | The team must document which frame needs manual handling |
A planner's calendar is only helpful if the team respects that distinction. Mark a scheduled entry as auto-publish or manual finish, and assign an owner for notification-based Stories. You can also use a guide to see scheduled posts on Instagram when auditing the queue, but always verify Story status in the publishing tool that created the schedule.
Handling Stickers, Links, and Final Publish Checks
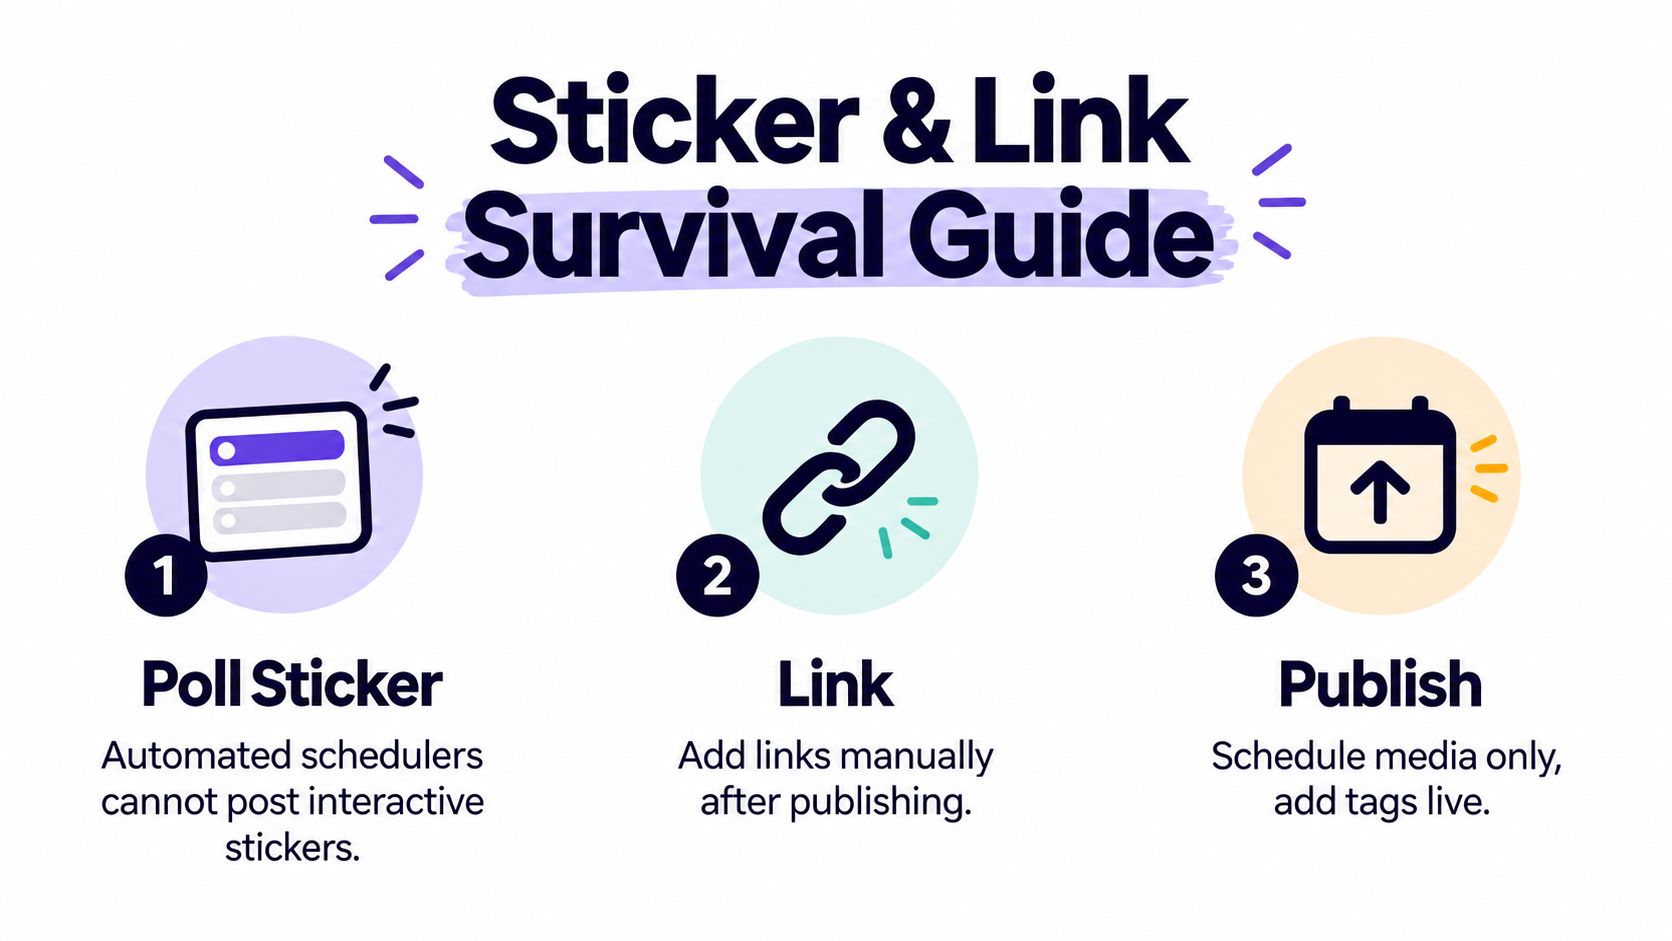
The final publishing step is where many automated Story workflows break. Polls, questions, and link stickers aren't just decorative layers. They depend on Instagram-native functionality, and automated publishing may not preserve them reliably.
Reserve interaction for publish time
If a poll drives the campaign, schedule the media and use a notification-based workflow. Open the notification when it arrives, add the poll inside Instagram, position it over the correct part of the frame, and publish from the app.
Use the same approach for question stickers, link stickers, mentions, and last-minute tags. The person handling publication should have the destination URL, sticker wording, and placement instructions ready, so the manual step stays controlled rather than becoming another late-night scramble.
If you choose auto-publish, design the Story so it doesn't depend on those features. Put the call to action in the prepared creative, use readable copy, and accept that the Story is a media sequence rather than an interactive canvas.
Before confirming a schedule, run this final check:
- Frame order: The sequence follows the approved narrative.
- Text placement: No important copy sits under interface controls.
- Media quality: Images and video render correctly in the mobile preview.
- Sticker plan: Every poll, question, link, or mention has a clear publishing mode.
- Link destination: The manual publisher has the correct URL and knows where to add it.
- Ownership: Someone is responsible for the notification and the replies after publication.
This Instagram social media scheduler guide is useful when you're deciding whether a broader planning tool fits the rest of your workflow, but the operational rule remains the same: don't confuse a scheduled media upload with a completed interactive Story.
Watch this walkthrough before testing the process with a real account:
Test one Story end to end
Schedule one low-risk Story and observe the entire process. Confirm that it publishes to the intended account, that the frame order is correct, that the text remains readable, and that any manual sticker step is clear to the assigned person.
Only scale the workflow after that test passes. Someone also needs to be available to answer replies and direct messages soon after publication, especially when the Story asks a question or invites a response. Automation can handle timing, but it can't replace community management.
Timing, Cadence, and Making Scheduled Stories Feel Human
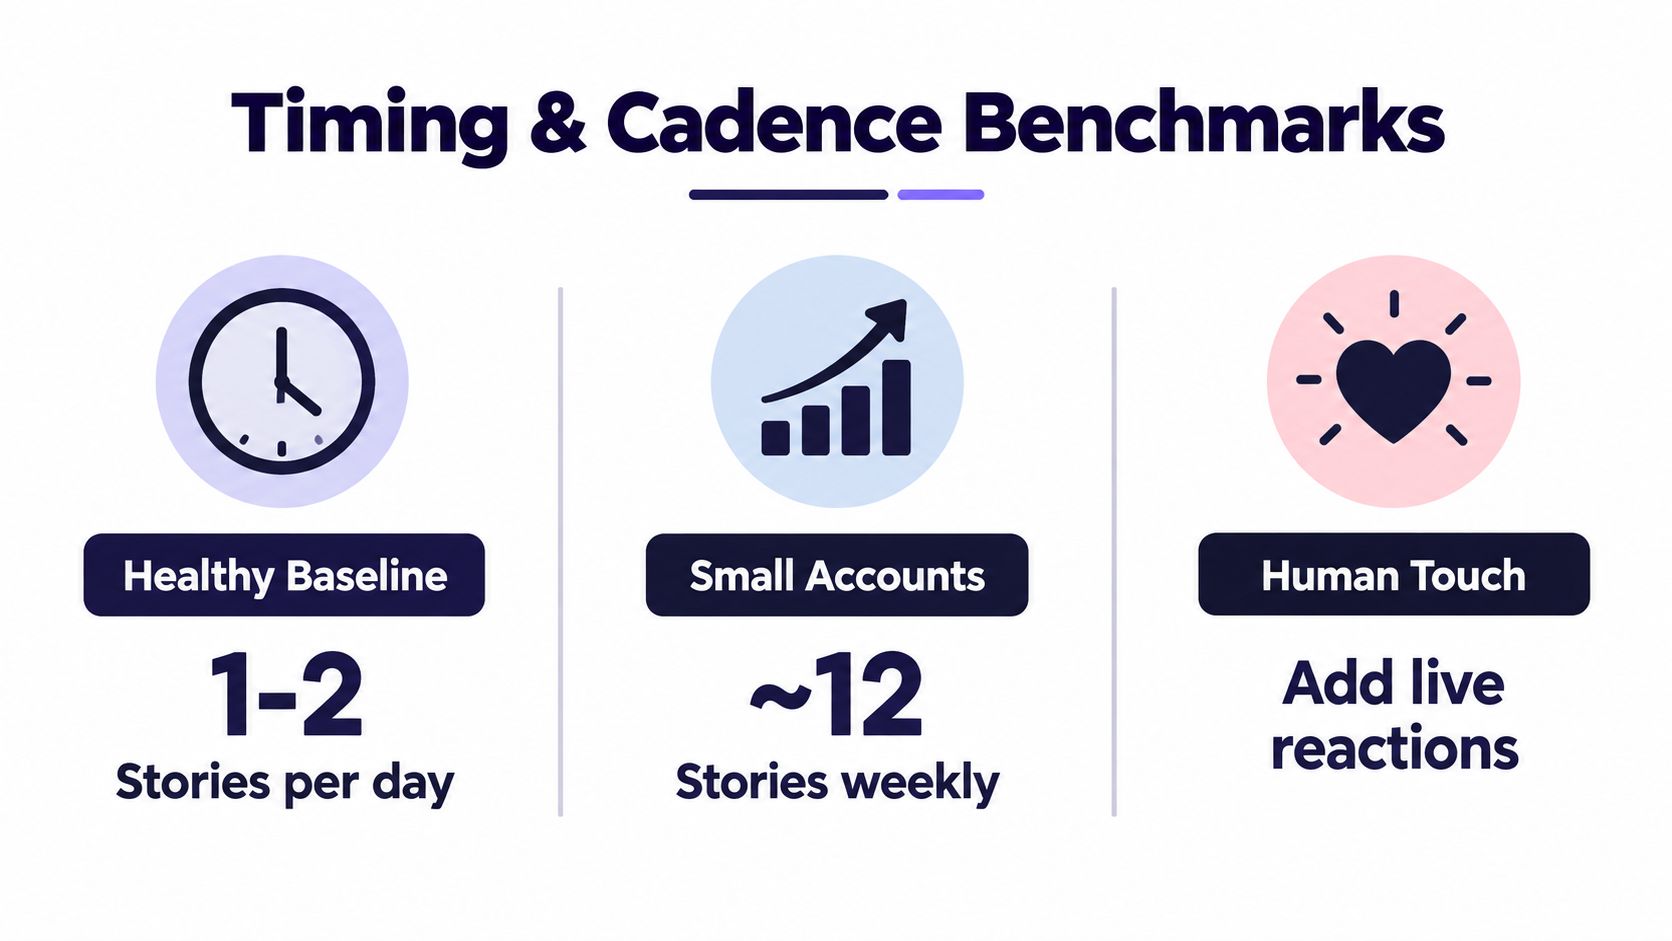
Scheduling works better when it supports a repeatable viewing habit rather than a large dump of content. Buffer cites Meta guidance that one to two Stories per day is a healthy baseline, while benchmarking referenced by Ordinal places small accounts at around 12 Stories per month and large accounts near 80 Stories per month. Those figures point to a practical principle, not a universal quota: volume should reflect audience size, available material, and the attention your team can sustain.
Spread attention across the day
Stories remain visible for only 24 hours, so publishing every frame at once can waste potential viewing windows. Use Instagram Insights to find when your own audience is active, then place the sequence across relevant windows instead of copying a generic “best time” from another account.
Spacing also helps the narrative. An opening frame can introduce a topic, a later frame can answer a common objection, and a final frame can invite action. The exact schedule depends on the account, but the principle is consistent: give each important frame room to be seen.
Avoid turning cadence into a machine. Too many automated frames can feel robotic, and a perfectly scheduled calendar still needs live reactions when a customer replies, a trend changes, or the original context no longer fits. Use automation for predictable production, then leave room for human posts and responses.
For broader Instagram planning, especially when Stories support Reels, this guide on how to grow on Instagram with these Reels tactics offers useful context for building a connected content system rather than treating every format as an isolated post.
Keep the operating model simple:
- Plan the sequence: Decide what the Story needs to accomplish before designing frames.
- Choose the mode: Auto-publish prepared media, or use notifications for interactive elements.
- Preview on mobile: Check the edges, text, order, and video playback.
- Test once: Watch one real Story publish before scaling the workflow.
- Stay available: Respond to replies and DMs after the Story goes live.
Your next scheduled Story should be a controlled test, not a leap of faith. Prepare a short media-only sequence, verify it on your phone, schedule it, and document what happened.
iHatePosting gives you a visual calendar, per-platform tailoring, previews, campaign organization, automatic publishing, retries, and publish alerts for coordinated social scheduling. Use the iHatePosting free trial to queue a tested Story workflow alongside the rest of your content, while keeping notification-based publishing for stickers and other final Instagram edits.